Reading Eggs Workbook - Review
Thursday, September 6, 2018
We are not strangers to the online program called Reading Eggs. In fact, we just used it last year and my little ones really enjoyed it. They've really changed things up for the positive the last few years and now they came out with workbooks that go along with the online program! We decided to review 200 essential Reading Skills for Second Grade. They have books from Kindergarten to 5th grade as well as math books for Kindergarten through 2nd grade.
Smart Kidz Radio - Review
Friday, July 27, 2018
If you are like my household, we are big music lovers. Someone almost always is either listening to the radio or other music. We were recently introduced to Smart Kidz Radio from Smart Kidz Media.

Iced Coffee and Chinese Food
Sunday, June 17, 2018
First off, a major Happy Father's Day to my amazing dad! My birth mom tried so hard to sabotage my relationship with him over the years when I was younger. God thankfully opened my eyes to what she did and he has been by my side ever since! He has been there for me through thick and thin despite all we went through when I was a child. I know he loves me unconditionally and is there for me no matter what! I'm so thankful for such a great dad and am thankful he shows my children what a real dad should be like!
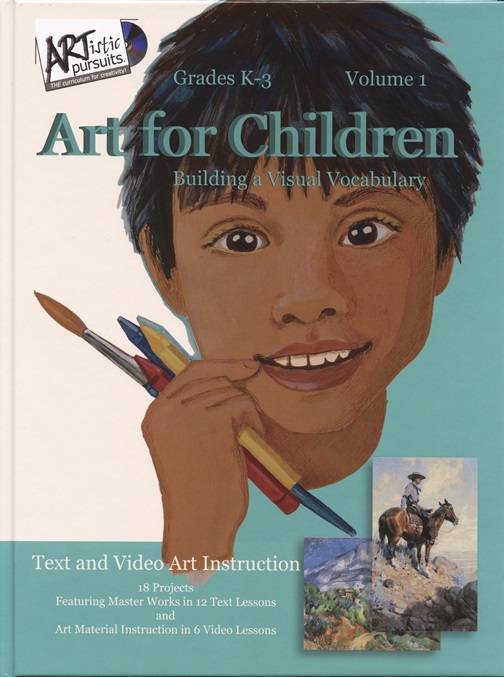
ARTistic Pursuits - Review
Wednesday, June 13, 2018
Zucchini Fries
Tuesday, June 5, 2018
As gardening season is kicking off (at least in this area), I thought I'd share one of our favorite ways to use the ever plentiful zucchini. Because we all know, we reach the point of thinking there is nothing else to do with the zucchini that is up to our eyeballs!

"N" is for Nine Tips for Getting Vegetables into Your Children
Monday, May 28, 2018
My children love vegetables and eat pretty much anything though I know this isn't the case for all kids. So I thought I would share some ideas of how to get your child to eat their veggies & suggestions of ways to sneak them into foods if they aren't willing to eat them!

PandaParents Preschool - Review
Thursday, May 17, 2018
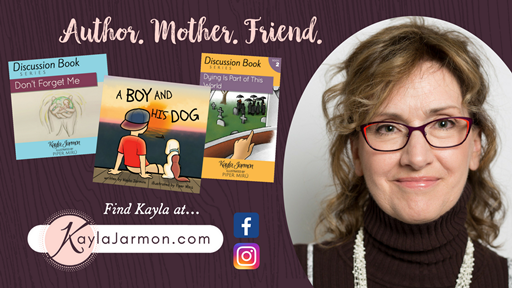
Kayla Jarmon Book Review
Friday, May 11, 2018
We are always open to checking out new books. We recently were given 3 digital books from author Kayla Jarmon. She is a mom, grandmother and a former homeschooling mom turned author.
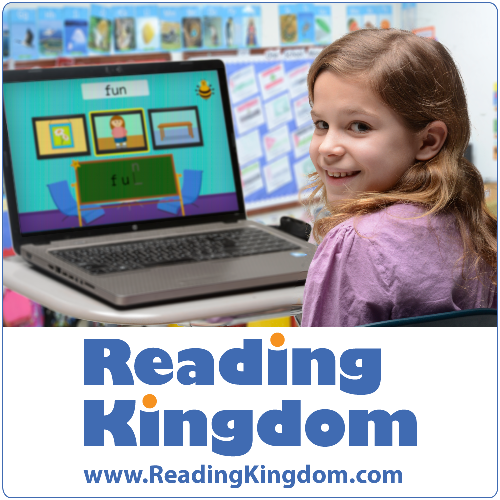
Reading Kingdom - Review
Wednesday, May 9, 2018
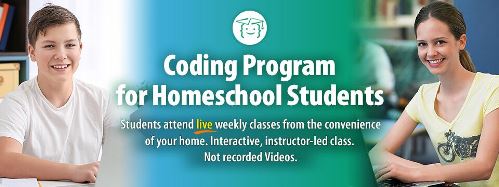
CodeWizardsHQ - Live online class review
Friday, May 4, 2018
My son enjoys working on the computer, gaming and problem solving. I try to balance his interests in gaming and computers in healthy ways and encourage him to use his love of technology for learning and growing. He recently had a chance to try out one of the Computer Programming Courses from CodeWizardsHQ. While they offer classes to anyone in grades 5-10, they also have a class for homeschoolers.
YWAM Publishing - Ronald Reagan - Review
Wednesday, May 2, 2018

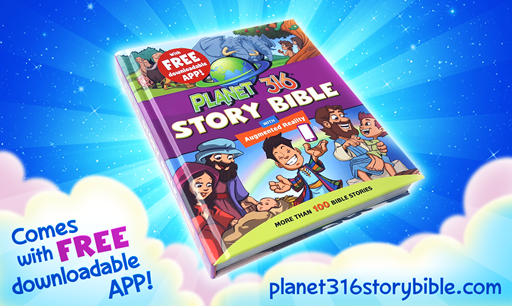
Story Bible - Review
Thursday, April 26, 2018
There are so many neat children's Bibles and Bible story books out there. We have several of them and I use them to read to my young children usually before bedtime. We recently had the chance to try out a new one, Planet 316 Story Bible and the companion Planet 316 Story Bible App from Planet 316 and WorthyKids/Ideals.
Subscribe to:
Posts (Atom)